This post may contain affiliate links. If you make a purchase through our links, we may earn a small commission at no extra cost to you.
That showstopper flowerbed down the street didn’t bloom by luck. Someone buried those bulbs last October, probably while the rest of the block was still raking leaves. It’s only six months later, when the spring buds show up, that the neighborhood stops and takes notice.
You can put on the same display, and fall gives your flowerbeds a head start. Bulbs planted now root before the ground freezes, then chill through winter, which prepares them to bloom in spring. A well-planned bed also lifts curb appeal because it frames your home from the street.
Getting there requires more than a bag of bulbs. You’ll plan the layout, prepare the soil, choose your plants, and then follow them through winter, spring, and summer. Timing shifts from region to region, so you’ll find a regional planting guide below.
Why Fall Works: The Science Behind a Head Start
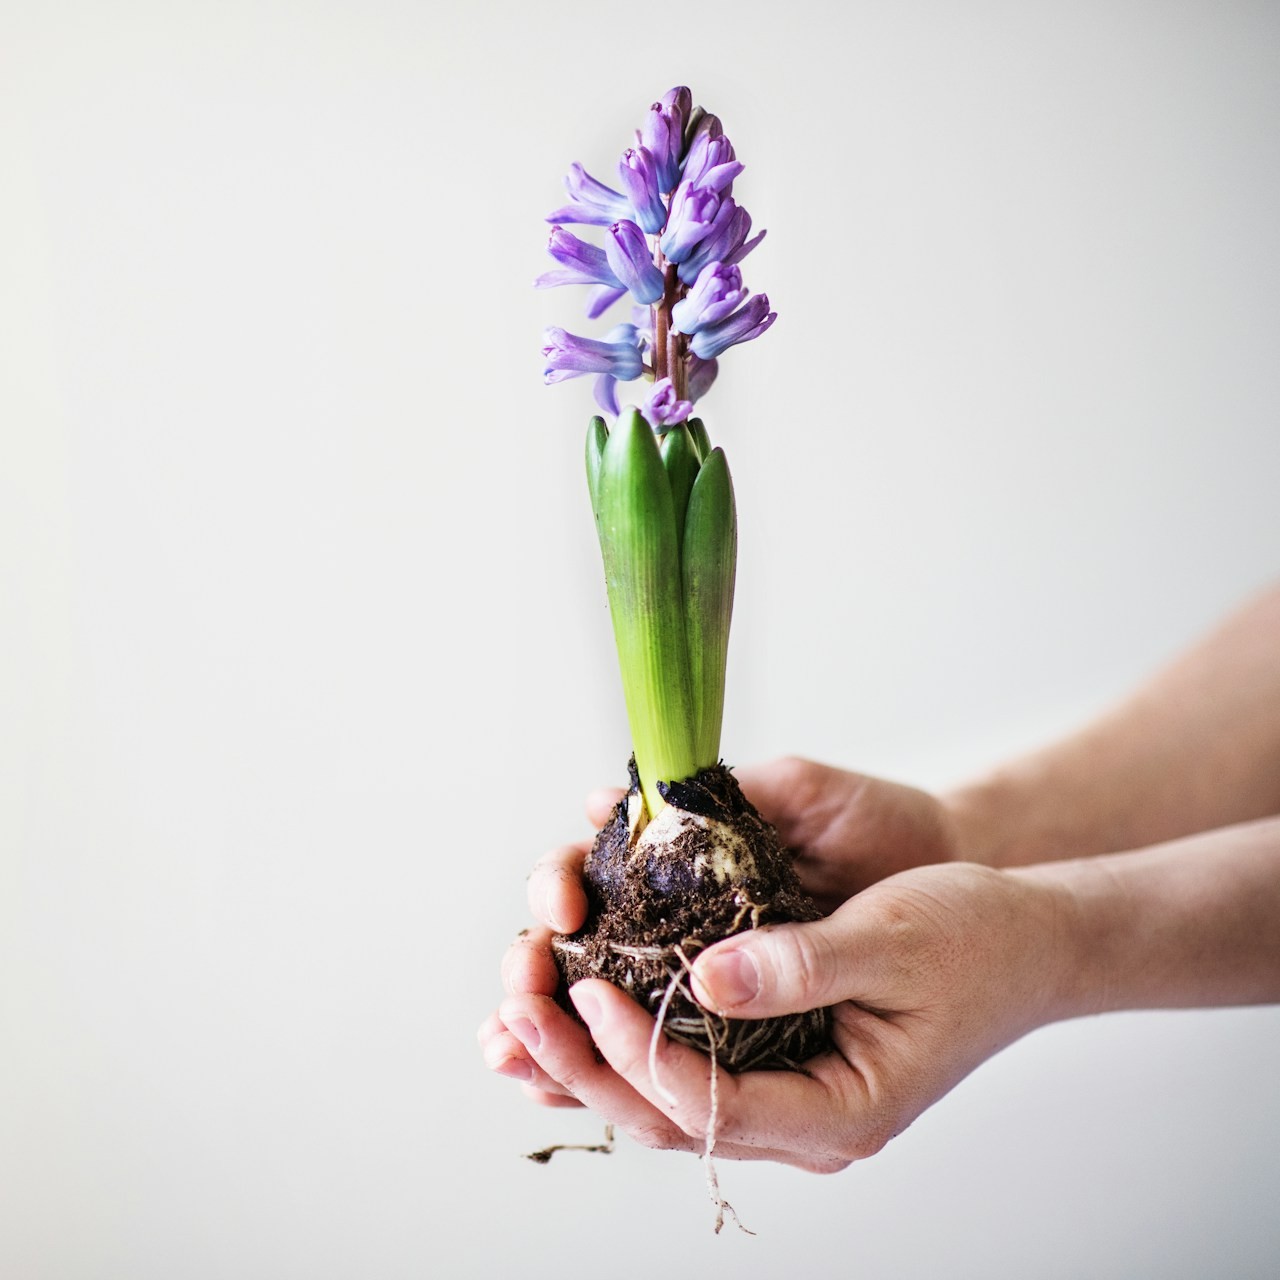
The secret to a healthy bed lies in soil physics. Fall pairs warm soil with cooler air, and plants use that combination to build roots before winter arrives.
NC State Extension says soil temperatures stay warm even as air temperatures drop, which favors root development over leaf and shoot growth. Cooler air also strains new plantings less, insect populations decline in fall, and weed pressure eases.
West Virginia University Extension adds that fall rains are frequent and that fall planting gives plants a jump-start on the growing season, with time to develop new roots before the ground freezes. It recommends fall planting for most plants where an early frost is unlikely, so check your first frost date before you buy.
Winter then supplies the cold that bulbs need to bloom. NC State Extension says most spring-flowering bulbs need a 12–16-week chilling period, and bulbs that miss it tend to bloom close to the ground on short stems. Gardeners in warm climates must refrigerate tulips and hyacinths first.
Water matters in fall, too. If autumn runs dry, University of Minnesota Extension says to water the bed thoroughly.
Designing Your Flowerbed
Good flowerbed design starts with decisions you can make over a cup of coffee and a notepad. Size, shape, sunlight, and height create the whole garden bed layout. Settle them now, and the bed adds curb appeal from the street.
Size, Shape, and Style
Scale comes first. Oklahoma State Extension notes that a tiny flowerbed gets lost in a vast lawn, while a large lawn can carry a large bed. Curved lines feel gentle and natural, and straight lines feel formal, whether you plant a border along a fence or an island bed in the lawn. A focal point such as a specimen tree or a statue gives the eye somewhere to land.
Sunlight and Site
Sun exposure matters for bulbs, both before and after they flower. Most grow best in full sun or partial shade, and four to six hours of direct sunlight is the minimum. After blooming, the leaves keep working. They generate the energy the bulb stores for next year’s flowers.
Drifts, Not Rows
A drift is a large, loose group of one kind of bulb, and it makes a stronger statement than a row. Penn State Extension says a solid wave of one flower has more impact from a distance than a small mix of colors and varieties. Stick to one or two colors per drift, and plant in groups for the fullest effect.
Height and Layering
Place tall bulbs toward the back and shorter ones toward the front. UGA Extension recommends mixing early, mid, and late season bloomers with tall and short growers. Clemson also suggests interplanting perennials or summer annuals, which camouflage yellowing bulb leaves.
Prepping the Soil
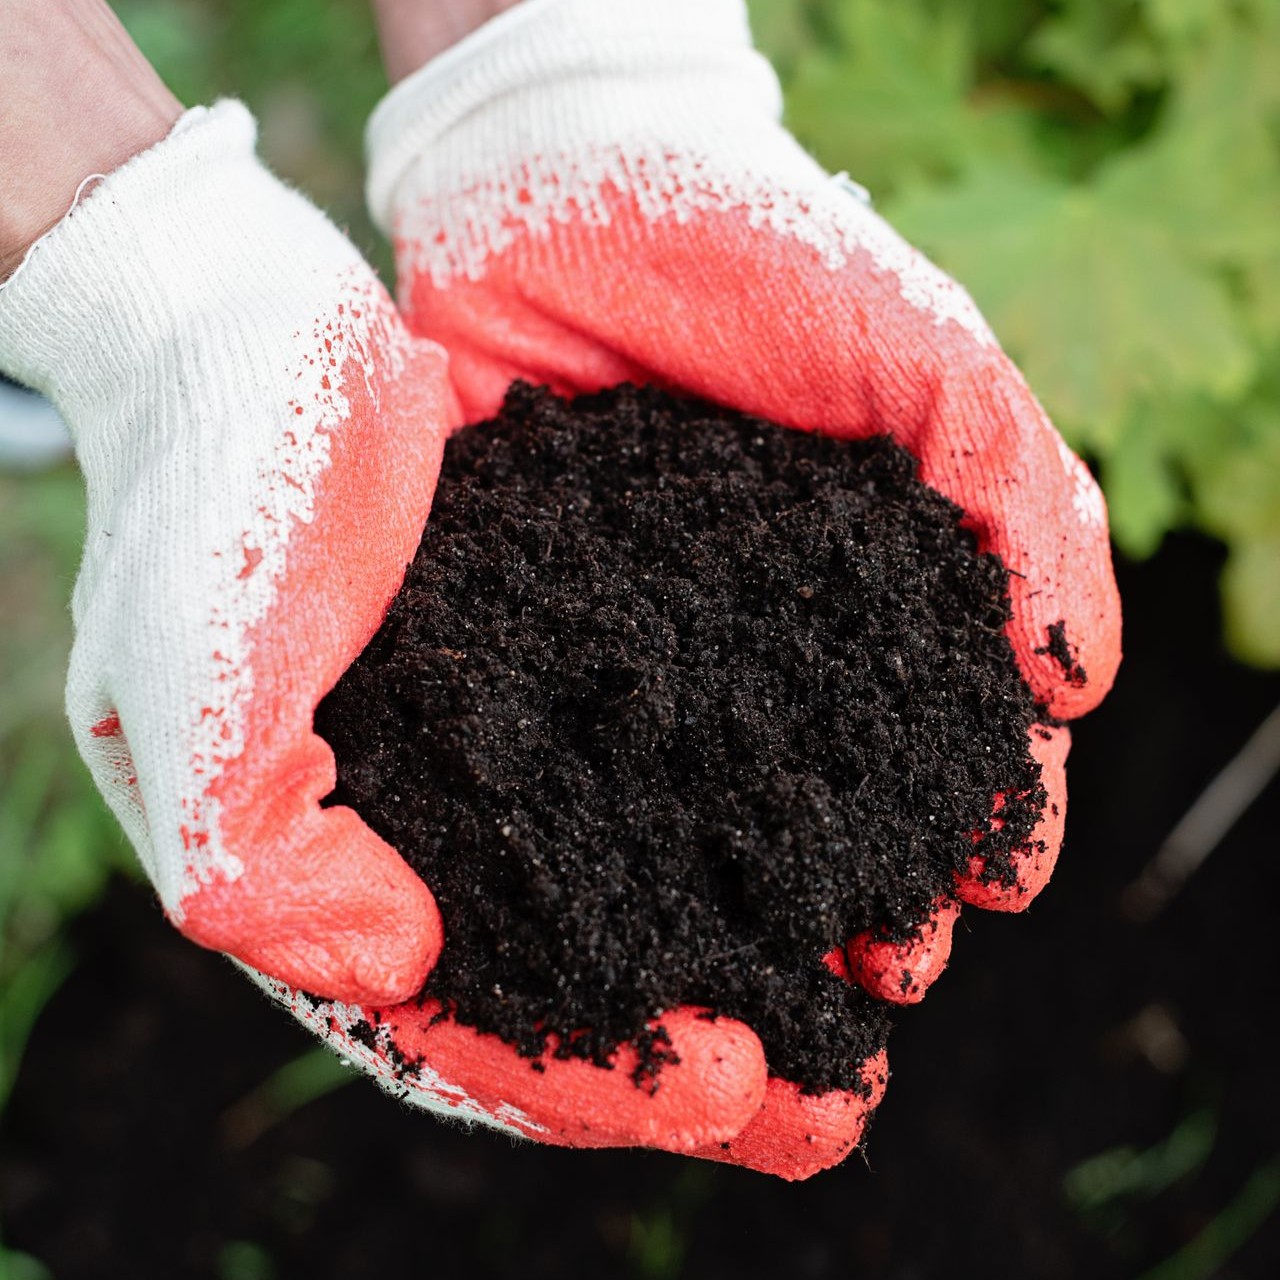
Healthy beds start below the surface. Prepare the soil in fall, and your soil amendments have the whole winter to blend in before spring growth begins. Start with a soil test, add compost, and let the results decide whether you need fertilizer.
Soil Test Basics
Penn State recommends measuring pH and nutrients, then amending based on the results. Bulbs prefer a pH between 6 and 7, so the test shows whether your soil needs adjusting before you plant.
Adding Organic Matter
Compost improves the soil itself. Minnesota Extension says to work organic matter such as peat moss, fine compost, or shredded leaf mulch into the planting area with a garden fork or tiller. In clay soil, Penn State says compost stimulates root development. If you’d rather make your own, our guide to turning kitchen scraps into plant food covers what to use and what to skip.
Fertilizer and Your Soil Test
Your soil test also shows whether you need fertilizer. Minnesota Extension says to skip it unless the test reveals a phosphorus or potassium deficiency, and Iowa State Extension notes that bulbs typically don’t need it at planting. If you do fertilize, it helps future seasons rather than this spring’s bloom.
When a test calls for feeding, Charlie’s Compost, an organic fertilizer with biochar, and Espoma Organic Bulb-tone, a 3-5-3 blend formulated for bulbs, are two good options.
Testing and Fixing Drainage
Bulbs rot in soggy soil, so check your drainage before you plant. Iowa State Extension explains that poorly drained soil has small pores that hold water, and the excess water pushes out the oxygen roots need. Penn State calls excellent drainage crucial for healthy roots and rot prevention during dormancy.
Running a Percolation Test
A percolation test shows how fast your soil drains. Iowa State recommends three steps:
Dig a hole at least 12 inches deep and 4–12 inches wide, or use a planting hole.
Fill the hole with water, let it drain, and then refill it.
After 15 minutes, measure how far the water dropped, and multiply by four to get inches per hour.
Soil that drains 1–3 inches per hour suits most plants. Under one inch per hour drains poorly, and above four inches is very well drained.
Fixing Slow Drainage
Heavy clay, compaction, low spots, and high water tables usually cause the trouble. Four fixes help:
Mix in compost, not sand, spreading it 2–4 inches thick and working it into the top 6–12 inches.
Break up compaction by staying off the bed, never working wet soil, and using a spade or aerator on hardpans.
Redirect runoff from uphill and downspouts, though never into a neighbor’s yard.
Build a raised bed or berm large enough to contain the plants’ entire root system.
Compost works because organic matter builds soil aggregates, and the spaces between them hold air and water.
Choosing Spring-Blooming Bulbs
Fall planting belongs mostly to spring-blooming bulbs. Mix bloom times, and your flowerbed performs for months instead of a single week. UGA Extension groups spring bulbs by bloom time, and a typical lineup looks like this:
Crocuses open first.
Snowdrops, glory-of-the-snow, grape hyacinths, and Siberian squill follow.
Hyacinths and daffodils bloom in midseason.
Tulips finish the show in late season.
Daffodils deserve a spot in nearly every bed. Along with alliums, they reliably return year after year, while tulips tend to decline after a few seasons and are often treated as annuals. Naturalizing Mixed Daffodils from Garden State Bulb suit that job, and their Darwin Hybrid Purple Pride Tulips supply one bold color for a drift.
Choosing Perennials and Cool-Season Annuals
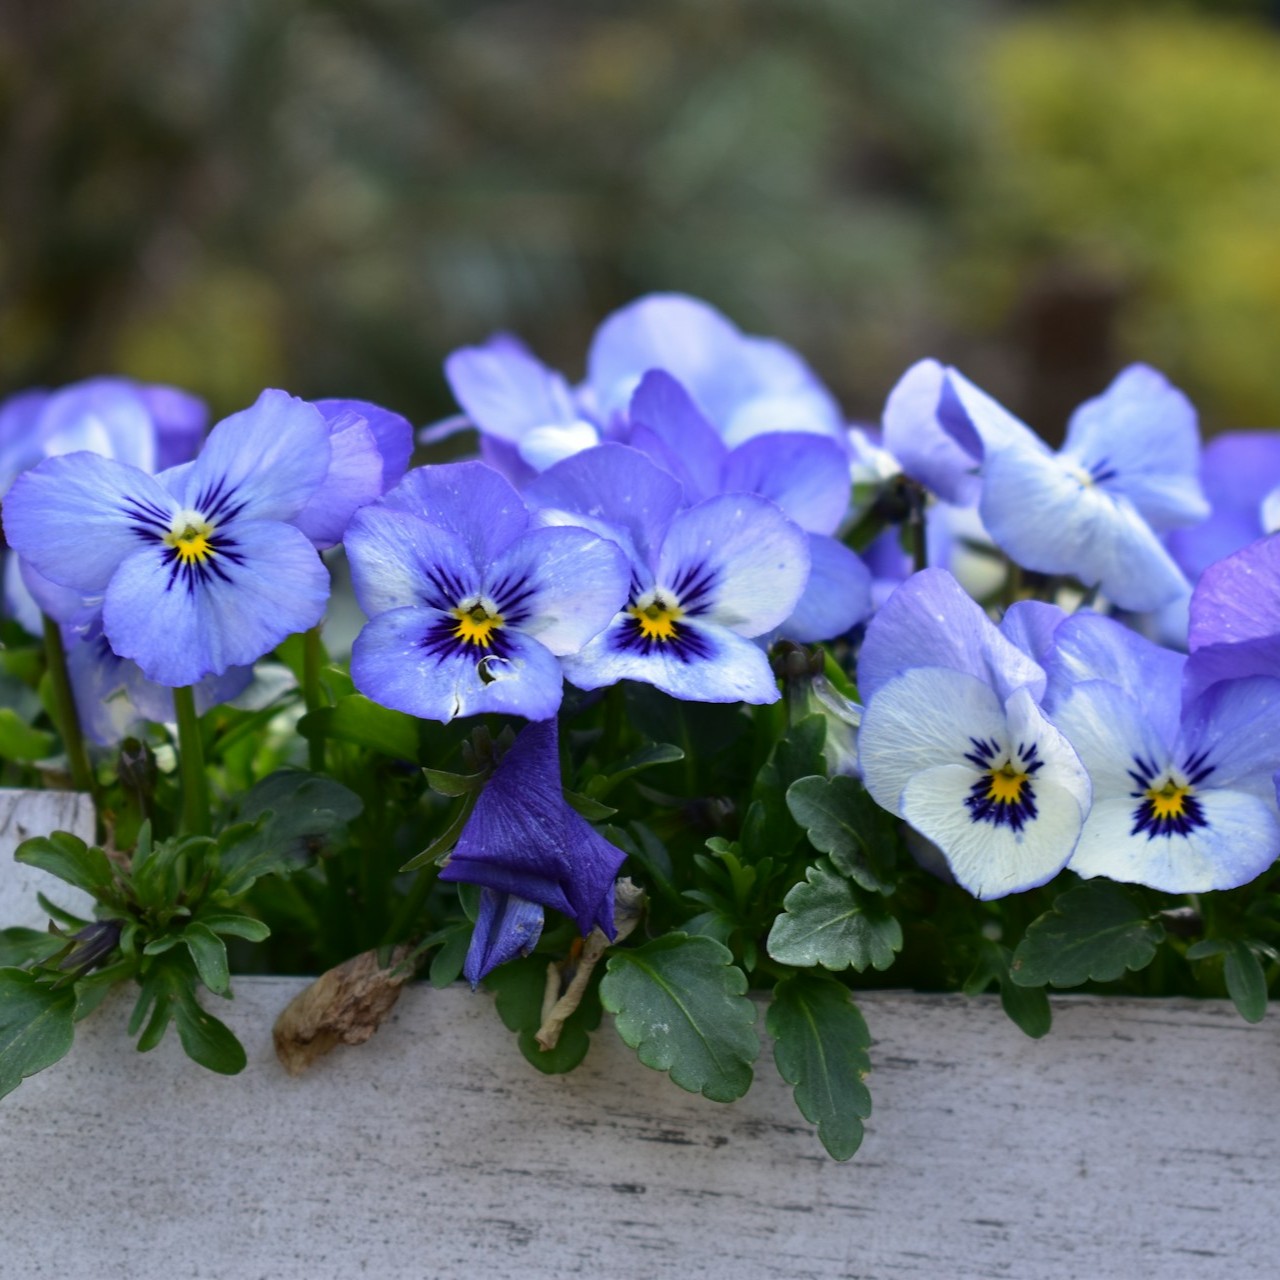
Bulbs aren’t the only fall planting. Perennials anchor the layout, and cool-season annuals add color while the bulb foliage finishes its job.
Cool-Season Annuals
LSU AgCenter suggests planting cool-season bedding plants such as alyssum, pansies, or violas over your bulbs, as long as the bulbs will grow taller than the bedding plants and the colors look good together. NC State Extension adds that pansies and violas bloom in autumn and again the following spring. Mums and asters fill the same role, adding fall color above your bulbs while the bed settles in.
Perennials
Perennials root well in fall. WVU Extension says fall gives perennials plenty of time for root establishment and calls it an ideal moment to divide some spring and summer bloomers. Aim to plant about two months before your average first frost and no later than six weeks before it. UGA Extension recommends fall planting for asters, sedum, and coneflowers, whether you buy container or bare-root stock.
Perennials also add texture once the bulbs fade. Oklahoma State Extension describes coarse-textured plants like hostas as large-leaved and bold and fine-textured plants like ferns as small-leaved and soft.
Buying and Storing Bulbs
Bulb quality affects your first-year display, so buy from a reputable grower. Penn State says quality bulbs run larger, feel firm, and arrive free of cuts or gashes. Skip any with bruises, mold, or soft spots.
Buy hardy bulbs early (September or October) while supplies are good, but wait to plant until cooler weather. If you’re weighing what else to plant this month, our October planting guide covers more options.
If you can’t plant right away, store bulbs somewhere cool, dry, and below 60°F, away from direct sunlight. Keep tulips and hyacinths away from fruit in the refrigerator, since fruit-produced ethylene gas can prevent blooming.
Getting Everything in the Ground
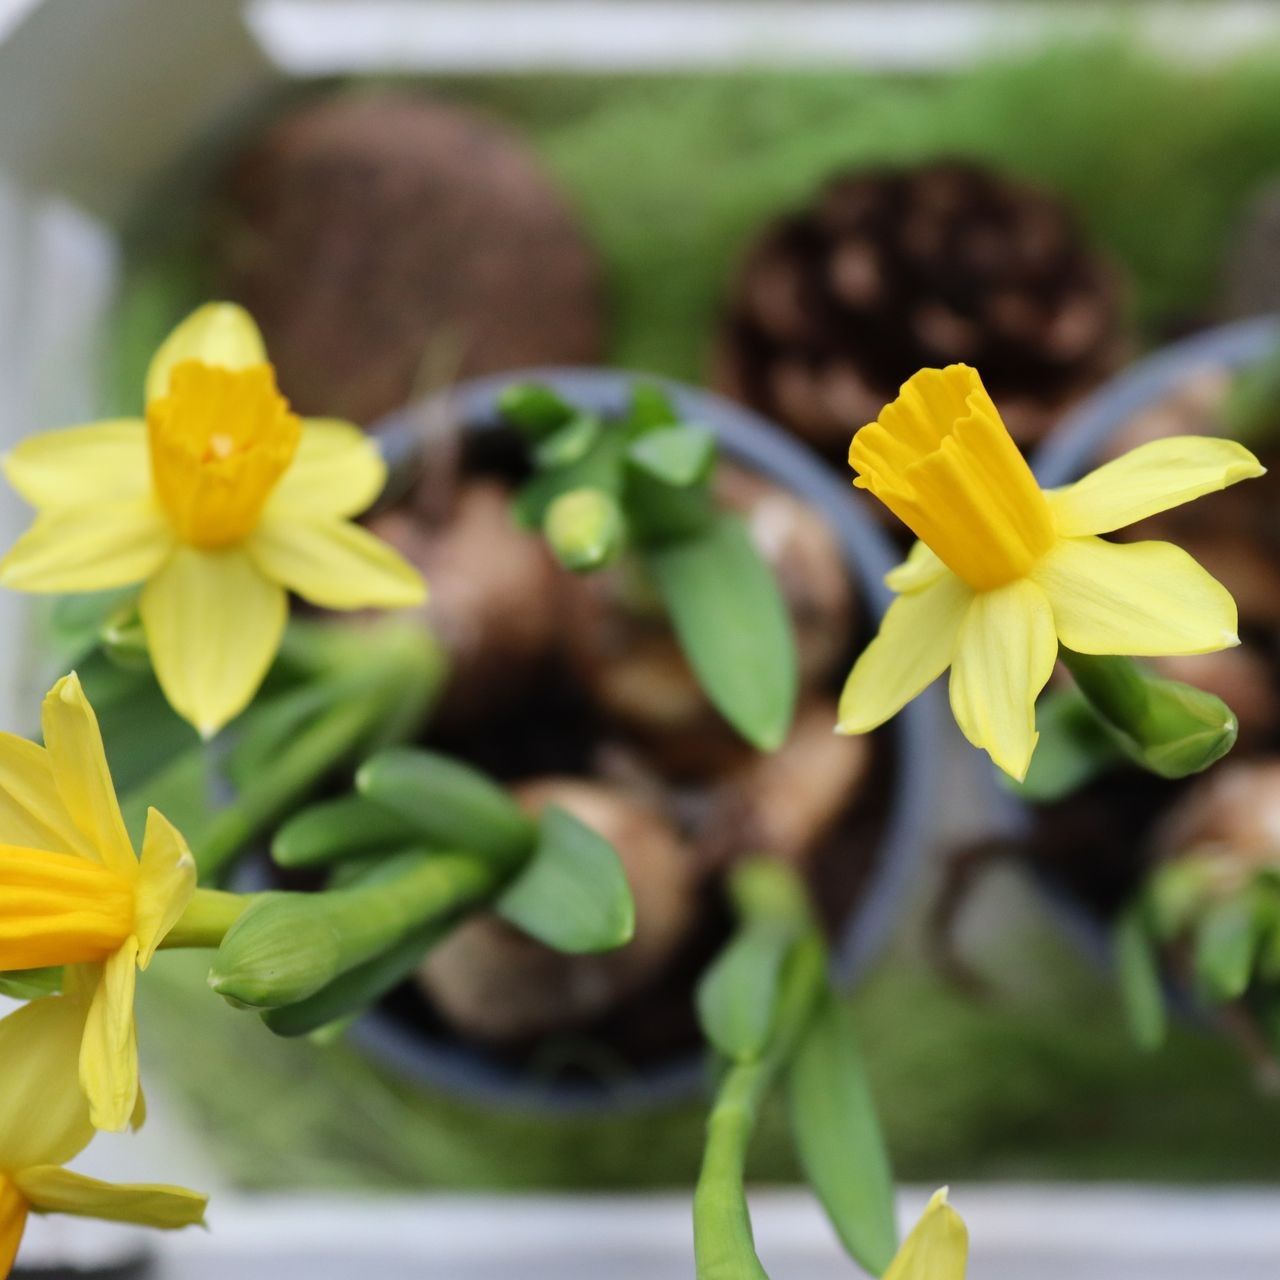
Planting goes faster and looks better when you work the entire flowerbed at once. Iowa State Extension recommends removing the soil across the planting area to the proper depth, setting out your bulbs in the pattern you want, and then backfilling.
Follow the depth on the bulb package. As a general rule, Penn State says to plant bulbs 2.5–3 times as deep as the bulb is tall, so a two-inch tulip bulb goes five to six inches deep. Tulips, daffodils, and hyacinths often sit 6–8 inches deep with 4–6 inches of bulb spacing, while crocus and other small bulbs sit shallower and closer together. The Berry&Bird Garden Bulb Planter has a 6-inch depth mark that helps you hit those depths.
Adjust for your soil. In light, sandy soil, plant 1–2 inches deeper, and in heavier clay, plant an inch or two shallower. Set each bulb with the pointed end up.
Layering for Extended Bloom
Layering stretches the bloom season by fitting several bulb types into one patch of ground. UGA Extension walks through the process:
Dig down to the depth of the deepest bulbs and arrange those first.
Cover with 1–2 inches of soil, then set the mid-depth bulbs.
Cover again and finish with the shallowest bulbs and a final layer of soil.
Pair bulbs that bloom at different times, such as crocuses above tulips, so the same spot flowers twice.
Watering and Mulching After Planting
Water the bed right after planting. Minnesota Extension says to cover the bulbs with half the soil, soak the area thoroughly, and then add the rest of the soil. Stop at a soaking, though, since most bulbs don’t tolerate wet conditions.
Mulching comes next. Spread 2–3 inches of leaf mulch, wood mulch, or clean straw over the bed. The layer minimizes temperature swings, maintains soil moisture, and reduces weed germination.
In spring, move the mulch aside as the soil and air warm. If a hard frost is forecast after shoots emerge, push the mulch back over them to reduce the risk of frost damage.
Fall Timing Guide by Region
Fall planting windows stretch from mid-September in Minnesota to late December in Louisiana. Find your zone on the USDA hardiness zone map, look up your average first frost date, and then use the extension guidance below from the region closest to yours.
Planting Window | What to Know | |
|---|---|---|
Minnesota | Mid-September to mid-October | In cold climates like Minnesota, earlier is better, though you can plant as late as October 20. |
Western Pennsylvania | September to October | Penn State Extension says to plant before the first frost. |
Georgia | October to December | UGA Extension says most spring-flowering bulbs need three to four months of cold. |
North Carolina | November | NC State Extension says to plant once the soil drops below 60°F. |
South Carolina | October or November for daffodils, later for other bulbs, and late December to early January on the coast | Clemson Extension says to wait on other bulbs until the soil at planting depth stays below 60°F. |
Louisiana | Late December to early January | LSU AgCenter says to plant tulips and hyacinths after refrigerating them at least six to eight weeks. |
Soil temperature has the final say in any flowerbed. NC State Extension and Clemson Extension both say to plant once the soil drops below 60°F, which can shift your dates from year to year.
In warm climates, refrigerate tulips and hyacinths first. LSU AgCenter says they need at least six to eight weeks in the refrigerator.
Protecting Bulbs From Hungry Wildlife
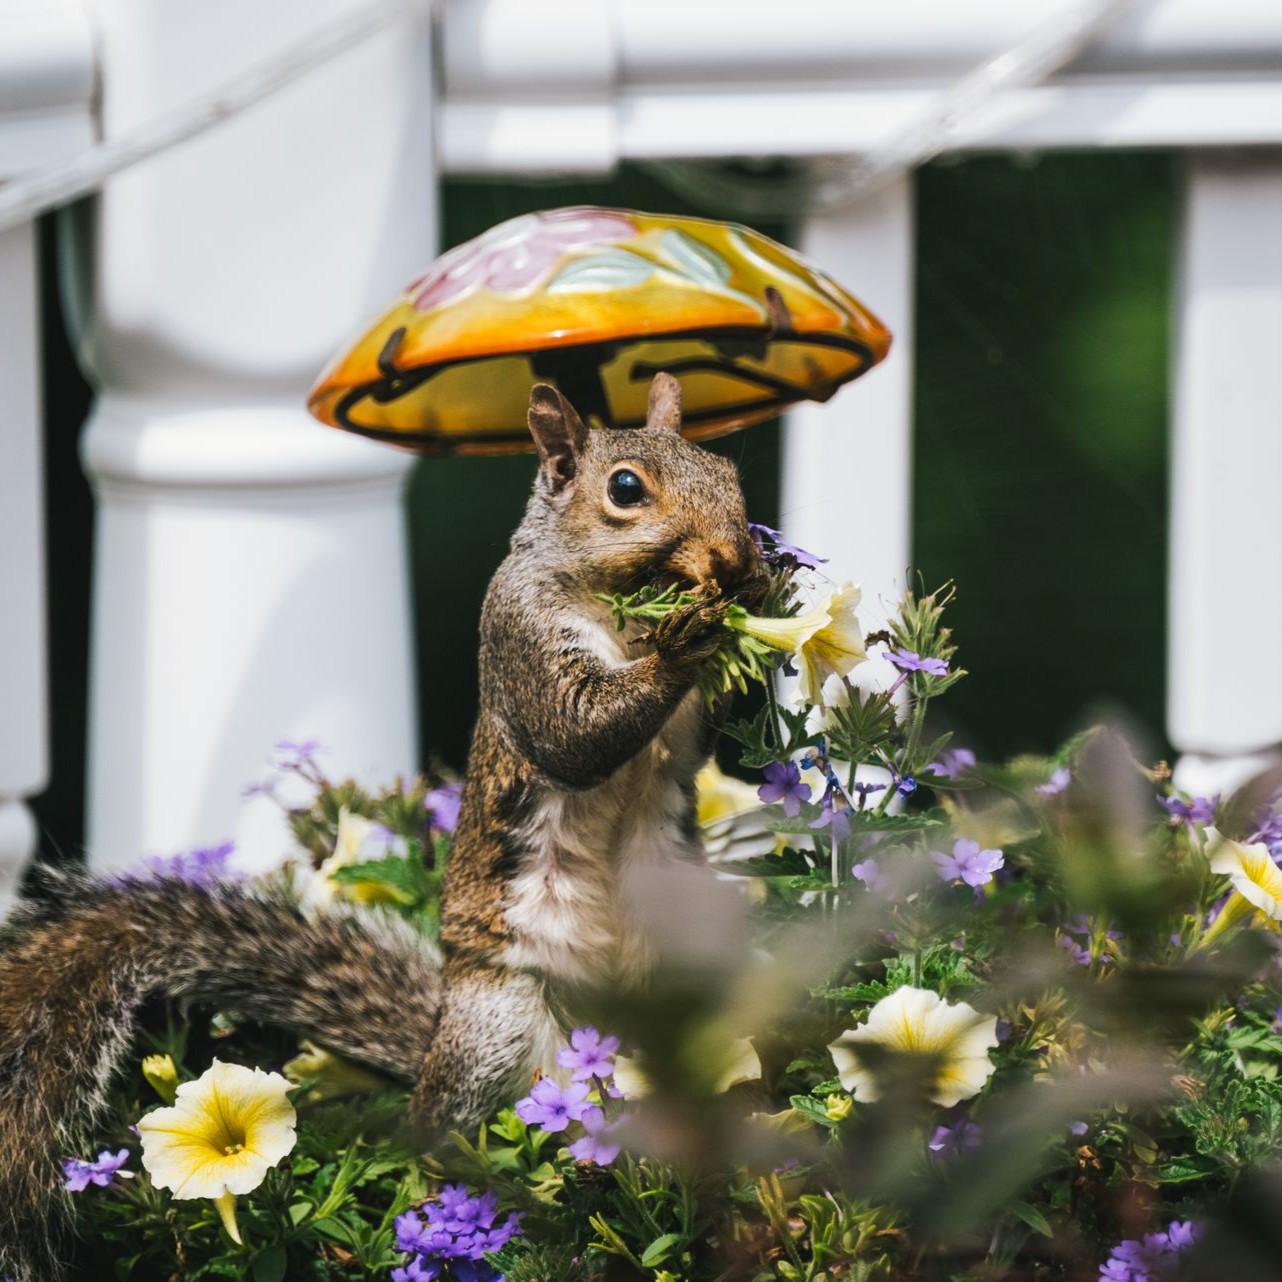
Squirrels, chipmunks, and voles treat a freshly planted flowerbed like a buffet. Clemson Extension says animals often dig and eat tulip and crocus bulbs but rarely touch daffodils, so plant daffodils where animals dig heavily.
Mesh is the surest defense. Clemson says enclosing bulbs in wire mesh is the only sure way to protect them. Minnesota Extension recommends laying chicken wire flat over the planted area, anchoring it with U-shaped staples, and covering it with mulch. The bulbs grow easily through the openings. Look for galvanized hex netting with 1-inch openings, which is wide enough for shoots to push through in spring.
Winter Care: What to Do and What to Leave Alone
Winter care for your flowerbeds comes down to keeping conditions steady. These checks protect everything you planted:
Keep the mulch layer at 2–3 inches since mulch helps soil temperatures rise and fall more gradually.
Water newly planted perennials during a dry fall, about an inch per week.
Ignore leaves that poke up early. Many bulbs send up foliage in late fall and winter and need no special protection.
Frost protection helps new plantings and early shoots most. UGA Extension says covers should reach the ground without touching foliage because contact with the cover often injures the leaves, and it cautions that improper covering can do more harm than none. A frost cloth such as Valibe Plant Covers Freeze Protection comes in a 10-by-30-foot roll.
Spring bulbs can stay in the ground year-round, so don’t dig them up. Just avoid overwatering.
Spring Emergence and First-Season Care
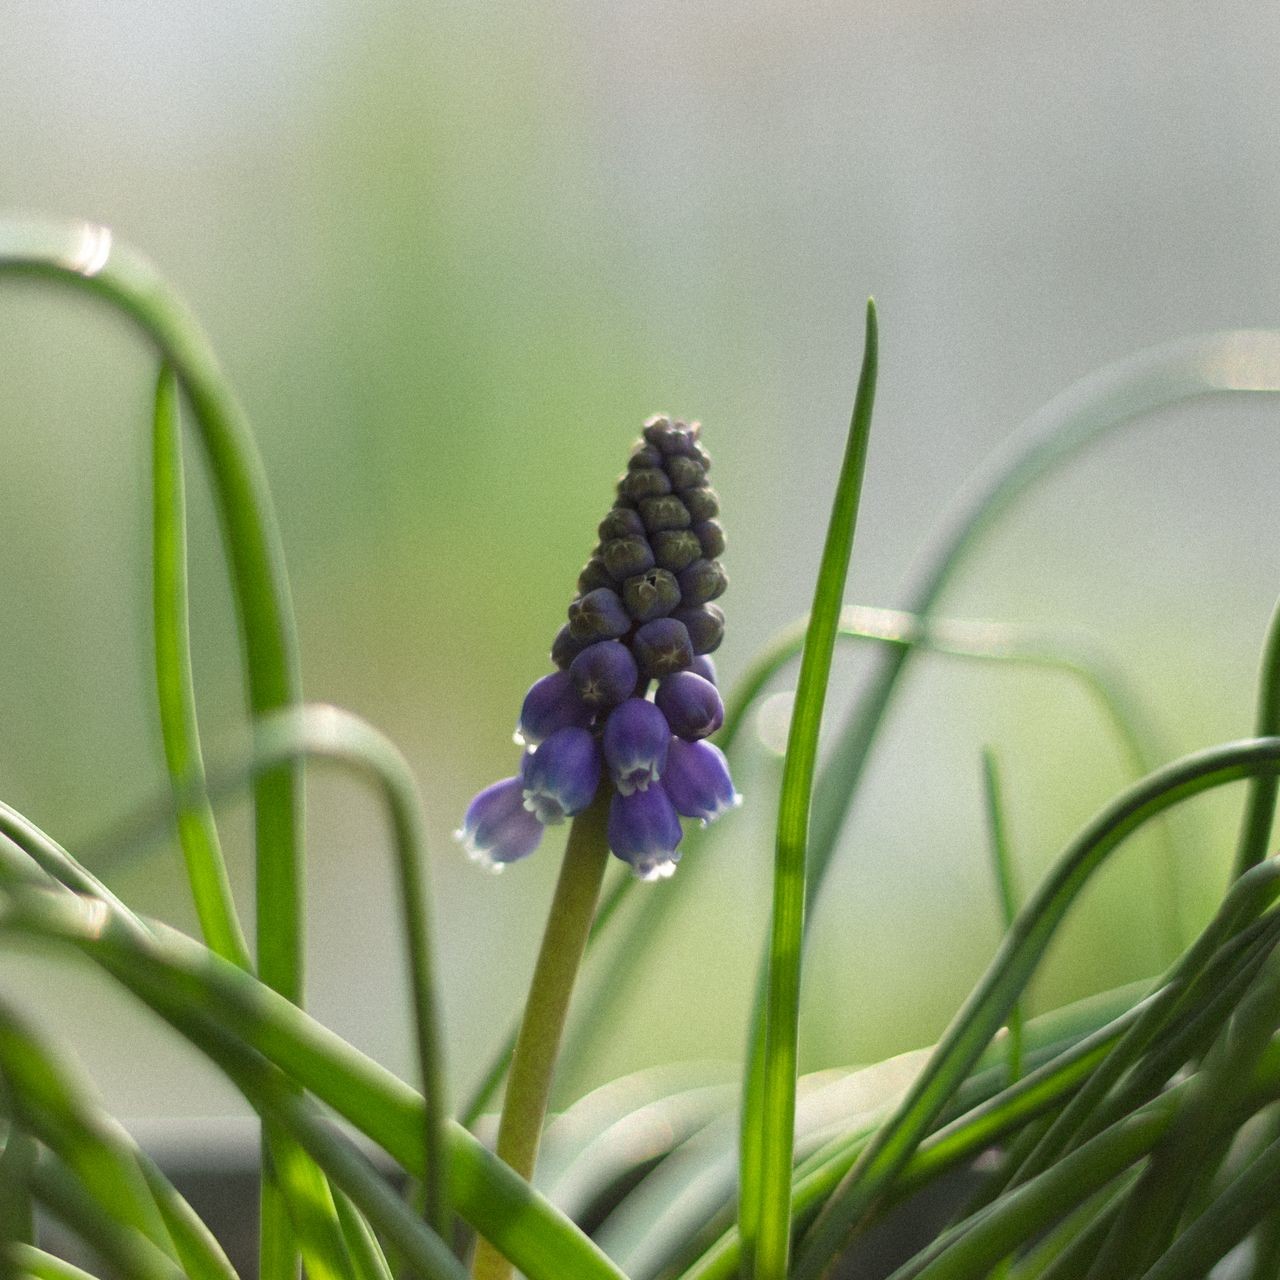
When the soil warms, the bulbs in your flowerbed bloom in sequence, with the small bulbs first. Spring care splits into two stages: the bloom itself and the weeks after it.
While the Bulbs Bloom
Bulbs in bloom need steady moisture and, in some beds, extra food. Two jobs cover both:
Water whenever the soil dries out, but avoid soggy soil, which promotes bulb rot.
Fertilize lightly as the flowers begin to die, using a fertilizer labeled for bulbs.
After the Blooms Fade
What you do once the flowers fade sets up next year’s display. Three jobs cover it:
Cut off the faded flowers, which keeps the plant from diverting energy to seed production.
Leave the green foliage alone for at least six weeks after bloom or until it turns brown. The leaves feed the bulb for next year.
Divide bulbs that grow crowded and stop blooming well, which typically happens every three to four years.
The Fiskars Non-Stick Micro-Tip Pruning Snips make the deadheading job easier, cutting cleanly all the way to the tip, which helps in tight spaces. The manufacturer’s description adds that the fully hardened, precision-ground stainless steel blades stay sharp through heavy use.
Keeping Your Flowerbed Thriving Through Summer
Once the spring bulbs go dormant, your flowerbed runs on perennials and summer-flowering bulbs. Summer care involves adding summer color and preparing for next fall.
Adding Summer Color
Summer-flowering bulbs carry the color while the spring bulbs rest. Minnesota Extension says tender bulbs such as dahlias, gladiolus, and begonias go in the ground in spring after the soil warms. They can’t survive cold winters, so dig them up after the foliage dries or frost kills it, and store them somewhere cool and dry that averages 40°F.
Preparing for Next Fall
Late summer sets up the next planting season. Minnesota Extension says to dig crowded bulbs just after the foliage yellows and withers, discard the small ones, and store the rest somewhere cool, dry, and well-ventilated until fall planting.
The Full Year, Starting Now
In fall, you design the bed, prepare the soil, and plant the bulbs. Over winter, the bulbs chill and grow roots. In spring, they bloom, and in summer, you tend the bed and plan next fall’s order.
Your flowerbeds don’t need fancy plants or a big budget. They need smart planning and steady care, and Minnesota Extension says hardy bulbs require minimal maintenance once planted properly. Start with this fall checklist:
Check the sun and sketch the layout.
Test the soil, add compost, and check drainage.
Buy firm, healthy bulbs from a reputable grower.
Plant when the soil drops below 60°F at planting depth.
Water, mulch, and protect the bed from wildlife.
Finish that list this fall, and your bulbs will spend the winter rooting and chilling underground. Come April, you could be the one whose flowerbed makes the neighborhood stop and take notice.
All product details, pricing, and availability were verified at the time of publication and may change without notice. Please confirm current information before making a purchase.



Leave a Comment
Your email address will not be published. Required fields are marked *