This article may contain affiliate links. If you make a purchase through these links, we may earn a small commission at no additional cost to you.
If you’ve ever watched a perfectly good bunch of basil turn into brown mush in the back of your fridge, you’ll be relieved to know the fix is ridiculously simple. There are four reliable ways to dry fresh herbs at home: air-drying, dehydrator, oven, and microwave, each suited to certain herbs based on their moisture content. Here’s how to pick the right one and start building a spice collection you grew yourself.
The Herbs That Dry Best From a Home Garden
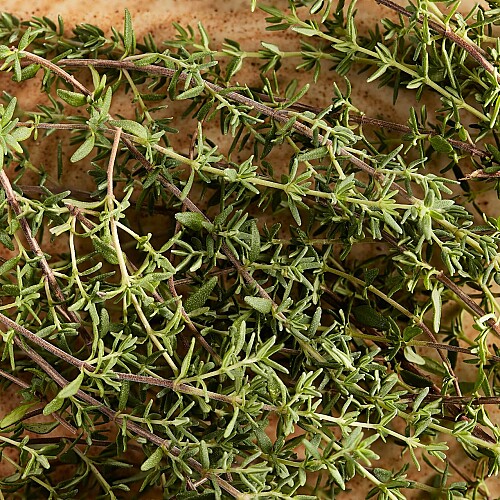
Most home gardens produce more herbs than anyone can use fresh in a single season. The good news is that the varieties most commonly grown at home also happen to be the ones that dry well and hold their flavor for months.
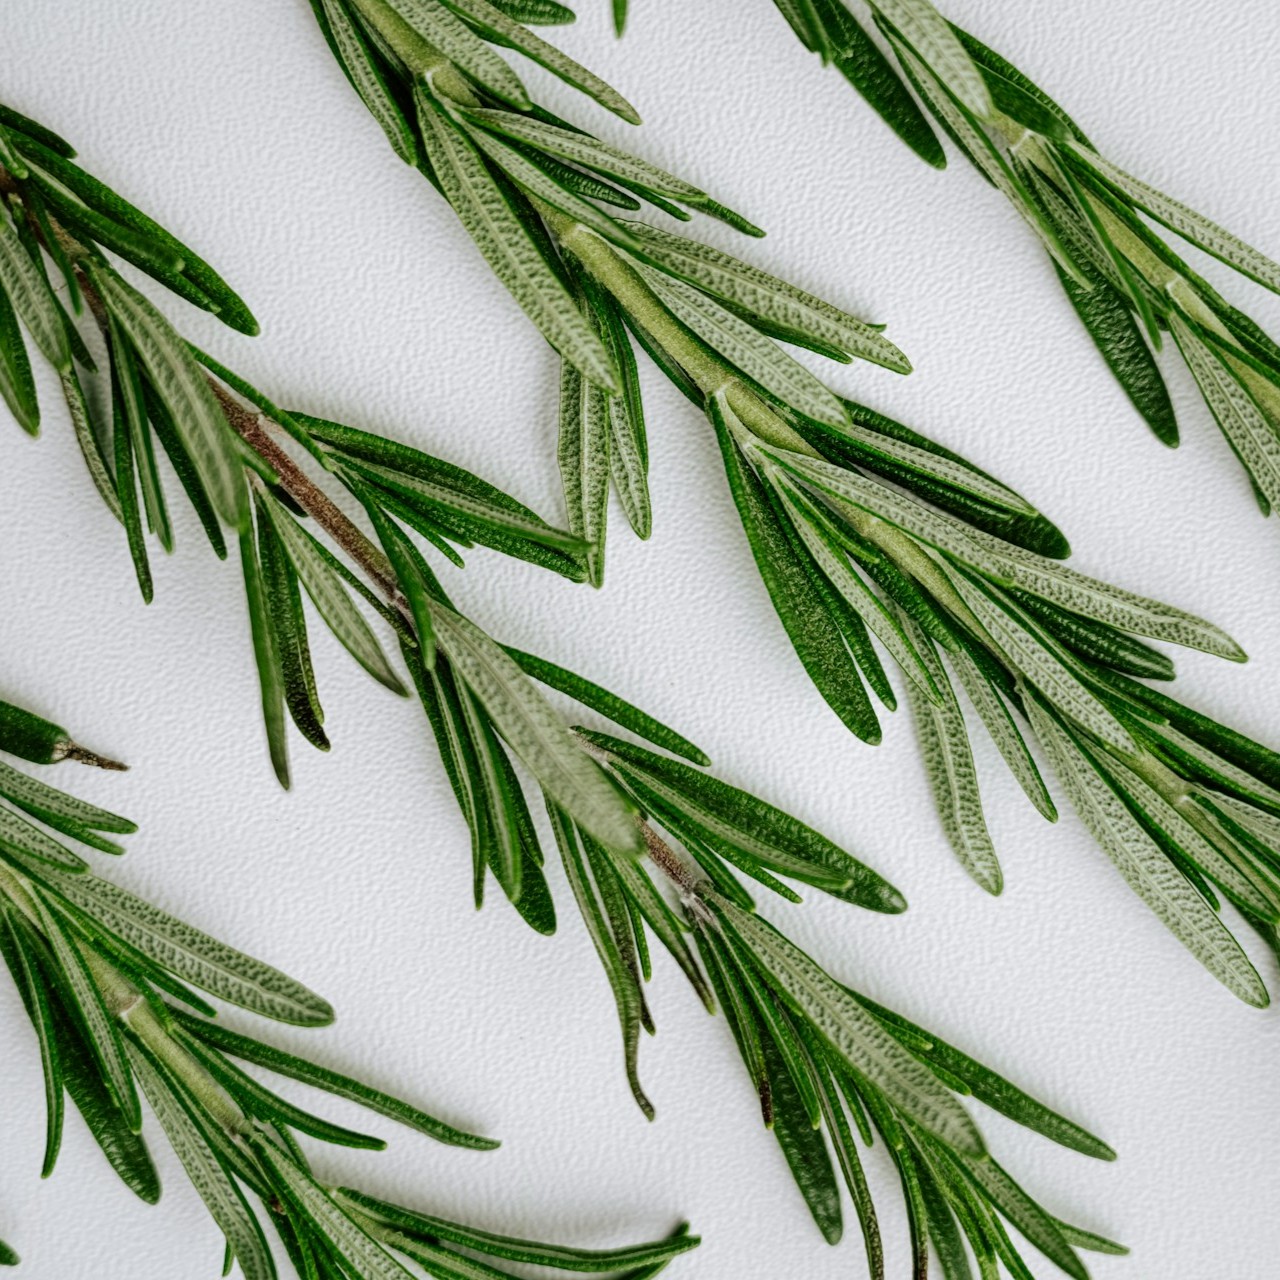
Rosemary, thyme, sage, basil, oregano, mint, tarragon, and lemon balm all respond well to at-home drying methods, though not all of them respond to the same method. That distinction is the key to getting this right.
When to Harvest for Peak Flavor
Harvest timing is everything here. Pick your herbs just before the flowers open, when the plant’s essential oils are at their peak. Once an herb starts blooming, it redirects energy to the flowers, and the leaves lose their punch fast.
Morning is your best window, right after the dew dries but before the afternoon heat breaks down those volatile oils. Use sharp pruning snips rather than tearing stems by hand. Clean cuts mean less bruising and more flavor to work with.
How to Prep Fresh Herbs for Drying
Give your herbs a gentle rinse under cool water to remove dirt and insects, then shake off the excess. Pat them dry with a clean towel or run them through a salad spinner. Remove any bruised, yellowed, or damaged leaves.
Take your time here. Leftover moisture is the fastest route to mold, and nothing is more frustrating than losing a whole batch to something so preventable. The drier your herbs are going in, the better your results coming out.
Sturdy vs. Tender Herbs: Why It Matters
Not all herbs dry the same way. But once you know the difference, the whole process feels manageable.
Sturdy, low-moisture herbs like rosemary, thyme, and sage contain less water and more structural fiber. They’re forgiving and hold up well with any drying method, including simple air-drying.
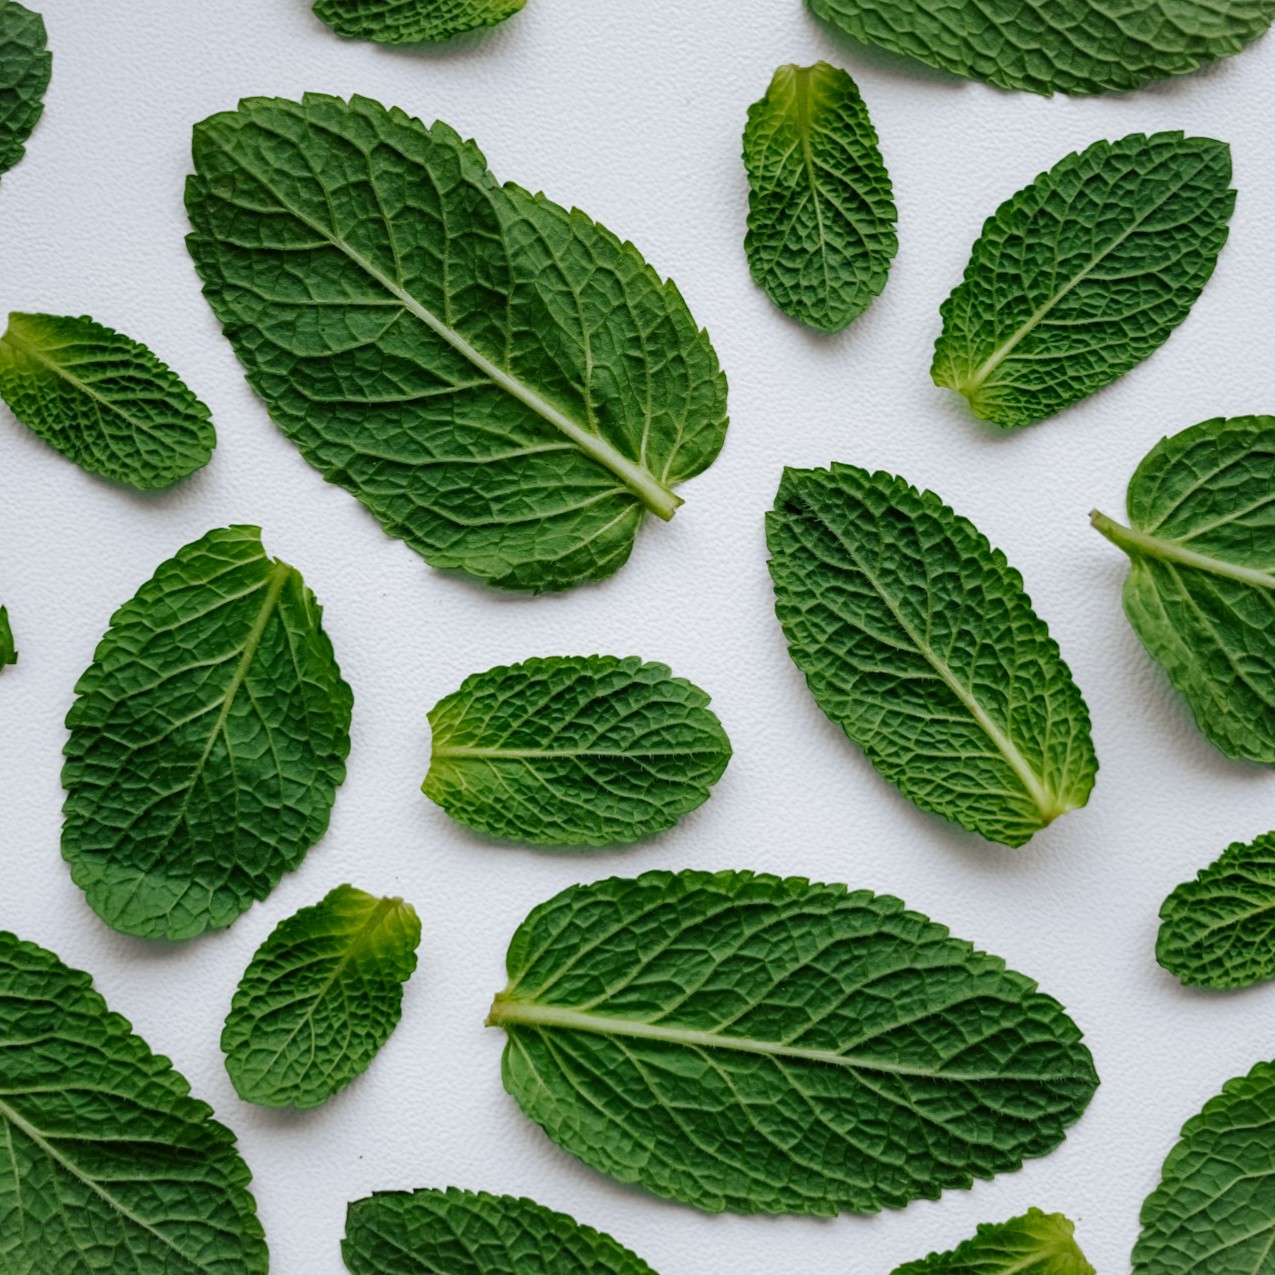
Tender, high-moisture herbs are a different story. Basil, oregano, mint, tarragon, and lemon balm carry significantly more water. The National Center for Home Food Preservation notes that these varieties will mold if not dried quickly, making a food dehydrator or microwave the safest bet.
Air-Drying
Air-drying is the most hands-off method and works beautifully for sturdy herbs. Gather small bundles of four to six stems, secure them with rubber bands, and hang them from a rack or hook, upside down in a warm, dry spot with good airflow. A kitchen, mudroom, or covered porch works well, but avoid direct sunlight, which fades color and breaks down flavor.
For tender herbs, skip the bundles, and lay individual leaves on a mesh drying rack to maximize airflow and reduce the risk of mold. A collapsible option like the Desy & Feeci 4-Layer Drying Rack stores flat when you don’t need it. Expect air-drying to take one to two weeks depending on humidity.
Dehydrator Drying
A food dehydrator is the most reliable option for tender herbs. The controlled heat and consistent airflow pull moisture out quickly without destroying the essential oils that give herbs their flavor. Set the dehydrator temperature to 95–115°F, spread herbs in one layer, and most will finish in one to four hours.
The NESCO Food Dehydrator & Jerky Maker is a solid starting point with 700 watts and expandable trays. For larger batches or year-round preserving, the NESCO Gardenmaster Pro steps up to 1,000 watts and handles up to 30 trays.
Oven Drying
No dehydrator? Your oven can work in a pinch. Set it to the lowest temperature it allows, spread herbs in a single layer on a parchment-lined baking sheet, and prop the door open slightly to let moisture escape, checking every 30 minutes.
Just a heads up, oven drying is the trickiest method. It’s easy to overshoot the temperature and lose those volatile oils you worked to preserve. If your oven doesn’t go below 200°F, a dehydrator will save you a lot of guesswork.
Microwave Drying
Microwave drying works for small quantities when you need results fast. Place a layer of leaves between two paper towels, and microwave on high in 30-second intervals, checking after each one. Most herbs take two to three minutes total, but keep a close eye; the gap between dried and scorched is smaller than you think.
How to Store Dried Herbs for Maximum Shelf Life
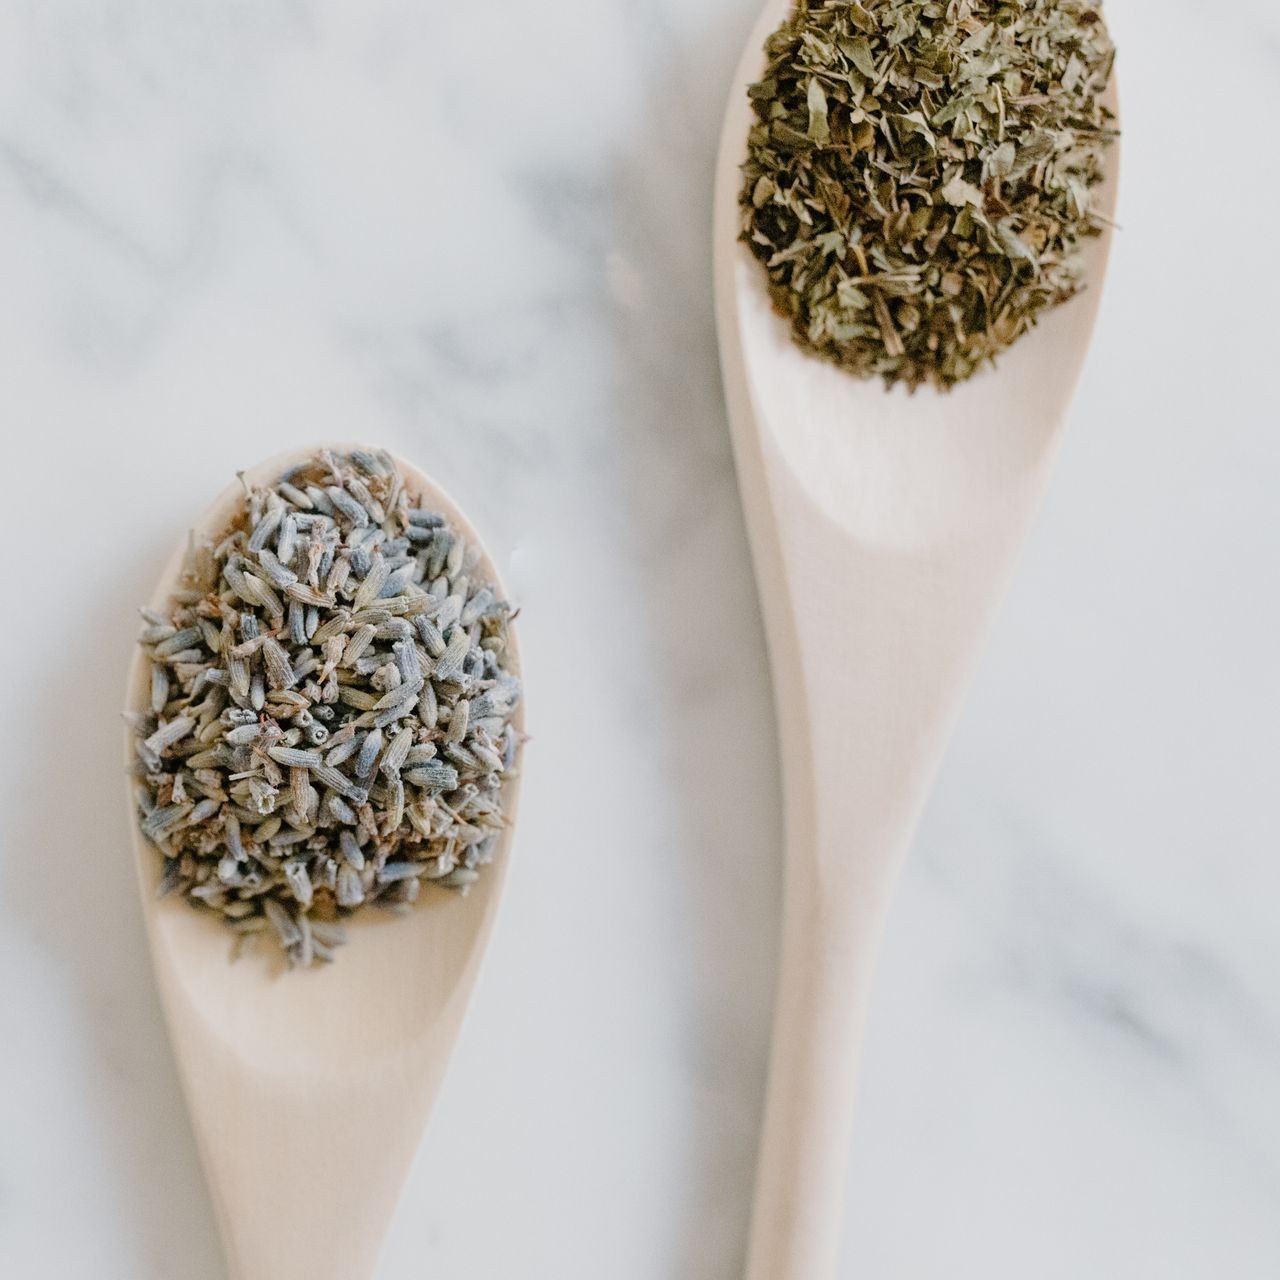
Your herbs are ready when the leaves crumble easily and the stems snap when bent, and that first crumble is genuinely satisfying. If they still feel leathery or bend without breaking, give them more time. Once they pass the snap test, a few storage basics will keep them good for months:
Store herbs whole in airtight glass jars. Crushing releases essential oils, so save that for when you’re ready to cook. Ball Regular Mouth Mason Jars are a reliable, widely available option.
Keep jars in a cool, dark place like a pantry or cabinet. Heat and light dull the flavor, so skip the shelf above the stove.
Label everything with the date. Properly stored dried herbs keep for up to a year, but University of Georgia researchers note they’re at their best within the first six months.
The Fresh-to-Dried Conversion for Cooking
Dried herbs pack more concentrated flavor than fresh, so you need less. The standard fresh-to-dried ratio is 3:1, which means one tablespoon of fresh herbs equals roughly one teaspoon of dried. When cooking, add dried herbs earlier in the process to give them time and heat to release their aroma; fresh herbs, by contrast, do their best work near the end.
From Garden to Spice Rack
Drying fresh herbs is one of those rare projects that takes almost no effort but makes you feel like you really have it together. The first time you reach for your own dried rosemary in the middle of January instead of grabbing a $6 jar from the grocery store, you won’t go back.
Not every herb is best dried, by the way. Chives and cilantro tend to hold up better when frozen. But for the varieties covered here, drying is the simplest path from a summer garden to a spice rack you stocked yourself.
All product details, pricing, and availability were verified at the time of publication and may change without notice. Please confirm current information before making a purchase.



Leave a Comment
Your email address will not be published. Required fields are marked *